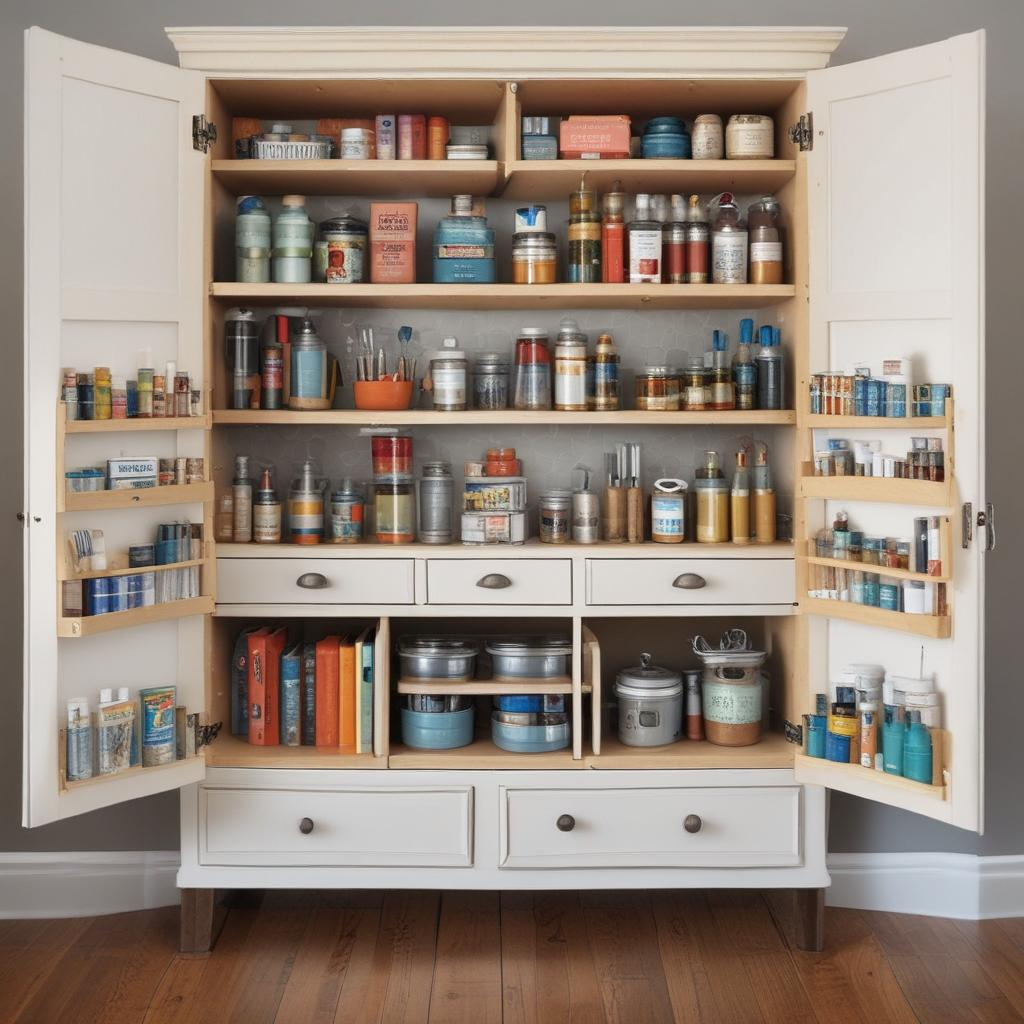
Once, in a quaint little apartment nestled in the heart of the city, lived Sarah, a budding artist with more creativity than space. Her tools and materials were scattered everywhere—from under the bed to the overcrowded nook by the window. One rainy afternoon, inspired by a DIY video, Sarah decided it was time to reclaim her space. Armed with nothing but a few basic tools and sheer determination, she transformed discarded wooden crates and leftover paint into a charming, space-saving storage cabinet. This not only organized her studio but also added a unique touch of personality to her small living space. This story is a testament to the magic of DIY projects in transforming not just spaces but also lives.

Introduction to DIY Storage Cabinets
For those living in small apartments or homes, space is a premium commodity that requires smart management. Storage cabinets are essential for keeping your living areas tidy and organized. However, purchasing ready-made furniture can quickly drain your wallet. DIY storage cabinets are a budget-friendly and customizable solution to this problem. They not only enhance your living space but also provide a satisfying outlet for your creativity.
Benefits of DIY Storage Projects
Embarking on a DIY storage project offers numerous benefits beyond cost savings. Firstly, you get the freedom to tailor the size, style, and color to perfectly fit your space and aesthetics. Secondly, it allows you to repurpose materials which is a great step towards sustainable living. Lastly, the satisfaction of creating something functional and beautiful by yourself can be immensely gratifying and empowering.
Planning Your DIY Storage Cabinet
Before you dive into hammering and painting, planning is crucial. Measure the space where you intend to place your cabinet. Consider what items you'll store and plan accordingly to ensure your cabinet will serve its purpose effectively. Sketch your design or use online tools to visualize the end product. This planning phase will ensure a smoother building process and a final product that you can be proud of.
- Choosing Materials: You can use recycled wood, old furniture, or even cardboard for smaller, lightweight items. Check local listings for free or cheap materials.
- Tools Needed: Depending on the materials, you might need a saw, hammer, nails, glue, and a drill. These can often be borrowed from friends or family to save further.
- Design Tips: Optimize every inch of your cabinet for maximum storage. Include shelves, hooks, and maybe even hidden compartments.
- Decorating Your Cabinet: Paint, stencils, and wallpaper are budget-friendly ways to add flair to your creation. This is your chance to let your style shine.
Step-by-Step DIY Guide
Begin with the preparation of your materials. Cut everything to size according to your design. Construct the frame first, ensuring it is sturdy and well-aligned. Assemble the inner shelves or compartments next, followed by the doors if your cabinet design includes them. Sand any rough edges to prevent splinters. Once assembled, apply paint or any decoration you've chosen. Allow everything to dry completely before moving the cabinet into place.
Conclusion
DIY projects like building storage cabinets not only optimize your living space but also add a personal touch to your home decor. With a bit of planning, some basic tools, and creative recycling, you can transform cluttered chaos into organized elegance. Just like Sarah, you will enjoy both the process and the pride in showcasing your handcrafted furniture, proving that a tight budget doesn't mean you have to compromise on style or functionality.


.jpg)


.jpg)


0 Comments