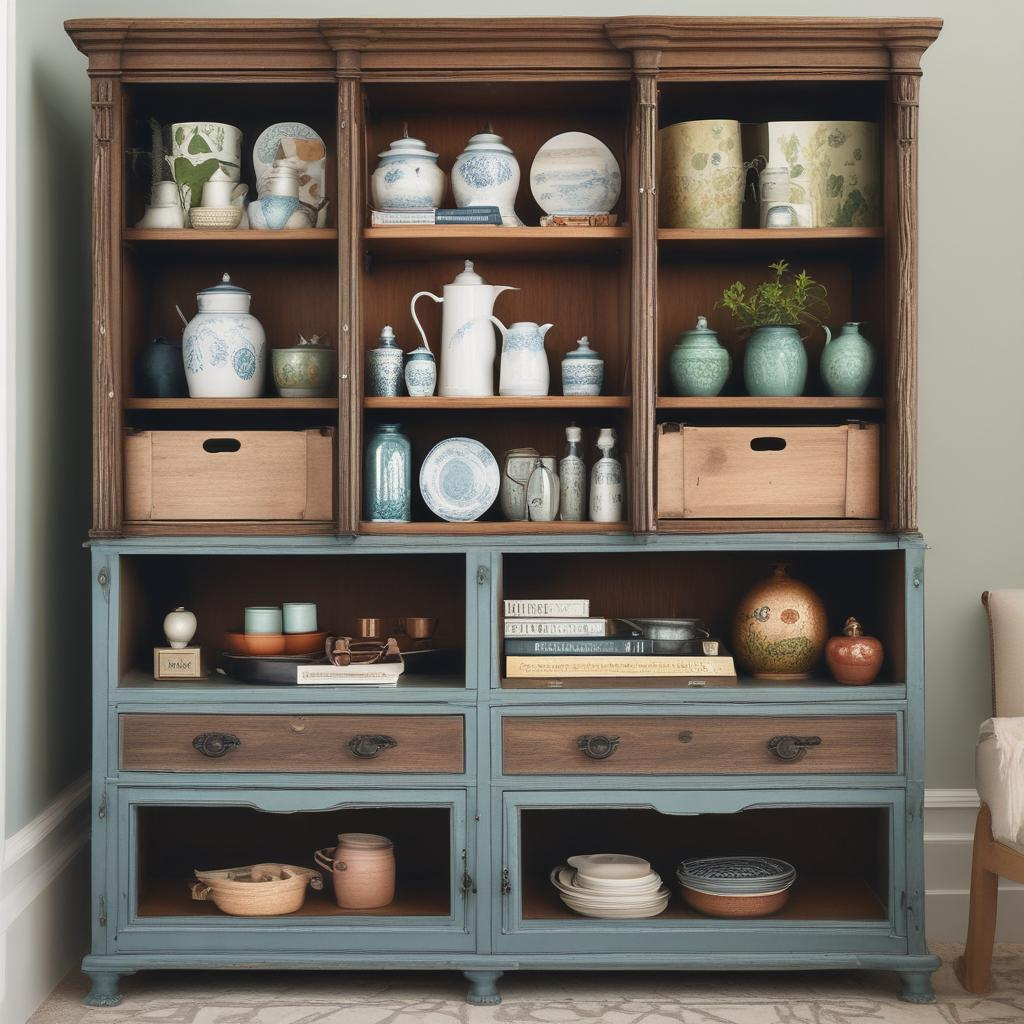
Transforming an old storage cabinet into a functional masterpiece not only breathes new life into a piece of furniture but also enhances your living space without the need for a costly renovation. Whether the cabinet is in your kitchen, bathroom, bedroom, or even your living space, revamping it can add character and functionality. This guide provides practical tips and creative ideas to inspire your next DIY makeover project.

1. Assess and Plan
- Start by evaluating the current state of the cabinet. Check for any damages, imperfections, or areas that may need repair before starting the makeover.
- Consider the cabinet’s purpose. Will it store books, kitchenware, clothing, or miscellaneous items? Identifying its use will guide your design choices, such as color and organizational features.
- Measure the dimensions of the cabinet to aid in purchasing materials like paint, liners, or hardware.
2. Choose a Design Style
- Decide on a design that complements the room where the cabinet will reside. For example, choose a sleek, modern style for a living room or a cozy, rustic design for a kitchen.
- Look for inspiration on DIY blogs, Pinterest, or home decor magazines.
- Consider unique themes or bold patterns if the cabinet is to become a statement piece in the room.
3. Prep the Cabinet
- Remove all hardware, doors, and drawers. This makes it easier to paint or refinish the cabinet smoothly.
- Clean the cabinet thoroughly to remove any dust, dirt, or grime. Use a gentle cleaner that will not damage the wood or other materials.
- Sand the surface if the cabinet is wooden. Sanding helps the new paint adhere better and provides a smooth base for painting.
4. Paint or Refinish
- Opt for a high-quality paint that matches your chosen design style. Apply a primer first if you are changing from a dark to a light color or working on particularly smooth surfaces.
- If you prefer the natural look of wood, consider staining the cabinet instead of painting. Choose a stain that enhances the existing wood grain.
- Consider using special painting techniques such as distressing or using a sponge to add texture and depth to your paint job.
5. Replace or Upgrade Hardware
- Select new hardware that complements your design. Modern cabinets might look best with polished chrome handles, while a vintage look might call for antique brass knobs.
- If on a budget, consider revitalizing existing hardware with paint or a metal polish instead of replacing them.
- Install the hardware only after the paint or stain has completely dried to avoid any smudges or chips.
6. Add Organizational Components
- Depending on the intended use of the cabinet, consider adding shelving, drawers, or dividers.
- Install pull-out baskets or bins for easy access to items stored at the back.
- For a wardrobe or crafting cabinet, think about including specialized racks for belts, scarves, or tools.
7. Apply Finishing Touches
- Add a layer of clear coat or polyurethane to protect the paint job and ensure durability, especially important for high-use areas like kitchens or bathrooms.
- Consider adding lighting inside the cabinet or beneath it to enhance functionality and ambiance.
- Decorate the top of the cabinet with plants, books, or other decorative items to integrate it smoothly into the room’s decor.
8. Reassemble and Place
- Carefully reassemble any removed parts like doors and drawers. Ensure everything fits well and aligns correctly.
- If the cabinet is heavy or large, seek help to move it back into its designated space safely. This prevents any damage to both the cabinet and your floor.
- Adjust the placement until it perfectly suits its surroundings and serves its desired function.
9. Maintain Your Updated Cabinet
- Keep the cabinet clean and tidy. Regular cleaning prevents dust buildup and maintains the appearance of your newly revived piece.
- Touch up any paint or finish as needed to keep it looking fresh and new.
- Periodically check the hardware and tighten any loose components to ensure continued functionality.
10. Final Presentation
- Accessorize the surrounding area to complement the revamped cabinet and create a cohesive look.
- Introduce art pieces, mirrors, or textile elements like rugs or curtains that harmonize with the cabinet’s new style.
- Take a step back and enjoy your transformed storage cabinet, which now serves not only as a functional storage solution but also as a personalized piece of home decor.
Your old, tired cabinet can indeed become a functional masterpiece with a bit of creativity, effort, and dedication. Each step of the process allows for personal touches that reflect your unique style and meet your storage needs. Whether you’re an experienced DIY enthusiast or a novice looking to start your first project, these tips will guide you in transforming your storage cabinet into a beautiful and practical feature of your home.


.jpg)


.jpg)


0 Comments