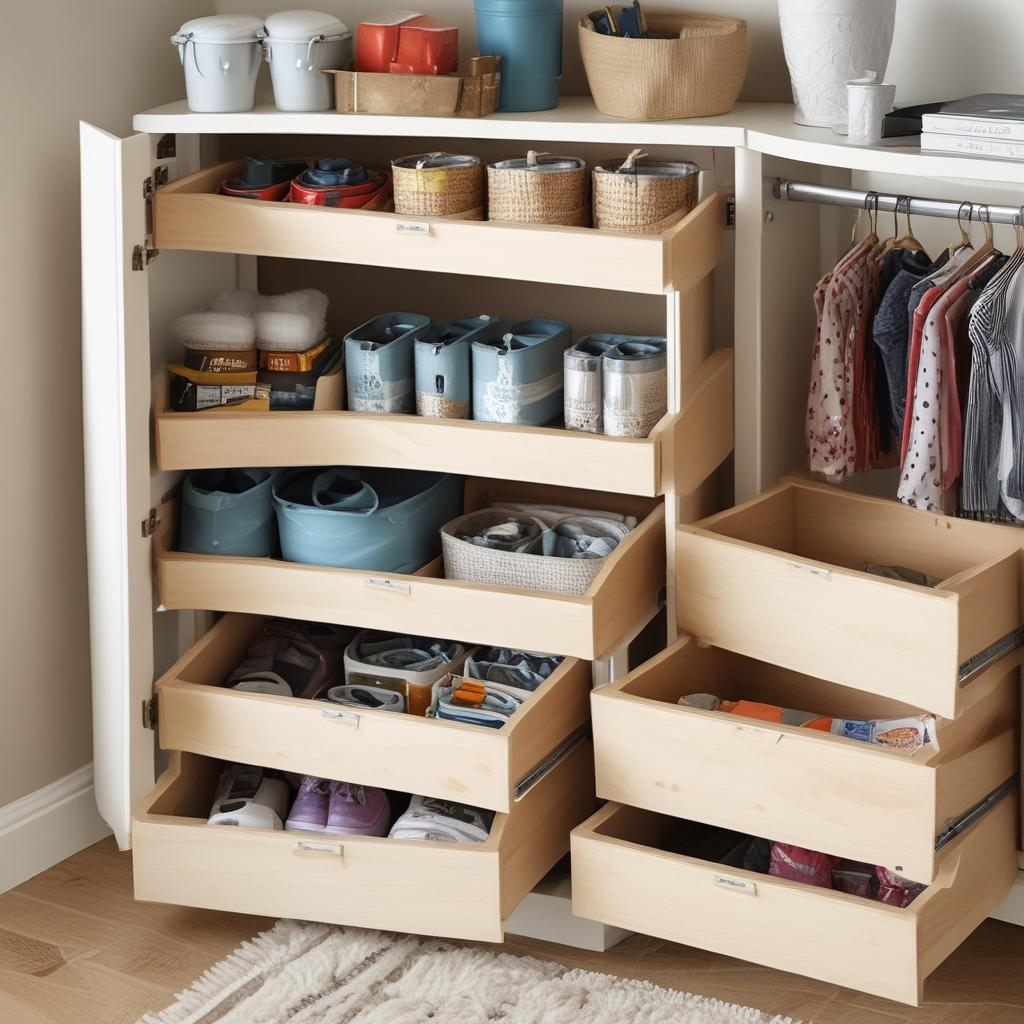
DIY Storage Cabinets That Simplify Your Life
Once upon a time in a bustling small town, there lived a young couple, Sarah and Tom, who recently moved into their first home. Their excitement was palpable, but so was their challenge: dealing with a constant overflow of belongings without enough places to store them. One evening, frustrated after spending hours tidying up only for their small space to look cluttered again, they made a revolutionary decision. Inspired by a DIY blog, they decided to build their own storage cabinets. The project not only solved their clutter issues but also turned into a fun, bonding experience that they often reminisce about. This tale beautifully highlights how a simple organizational solution can fundamentally change everyday life.

Why Consider DIY Storage Cabinets?
DIY storage cabinets are more than just a space-saving solution; they represent a customizable, creative, and cost-effective approach to organizing your home. They allow you to tailor your storage spaces according to your needs and preferences, providing a unique satisfaction that comes from building something functional and personalized. Whether you need extra space in the kitchen, the garage, or your bedroom, making your own storage cabinets can be a gratifying project.
Planning Your DIY Storage Cabinet
The first step in creating a DIY storage cabinet is planning. Assess the space where you want to place your cabinet: consider the size, the type of items you’ll store, and how you want access to these items. Use graph paper or a digital design tool to sketch your plans. This will help you visualize the project and provide a clear guide during the construction process.
Materials and Tools
You'll need basic materials and tools to get started with your DIY storage cabinet. Here’s a basic list:
- Plywood or medium-density fiberboard (MDF) for the body
- Screws and nails
- Hinges and handles
- Saw, hammer, and screwdriver
- Sanding paper and paint or varnish
These materials and tools are readily available at your local hardware store. Choose materials that will best suit the functionality and aesthetics of the room where the cabinet will be placed.
Assembly Tips
When assembling your DIY storage cabinet, precision and patience are key. Here’s a step-by-step approach:
- Measure and cut your wood according to the design specs.
- Assemble the frame and back panel using screws and nails.
- Make sure all pieces are aligned and the structure is sturdy.
- Attach the doors using hinges and install handles.
- Sand any rough edges to prepare for painting or varnishing.
- Apply your chosen finish, let it dry, and add additional coats if necessary.
Add unique touches such as decorative knobs or creative paint jobs to make the cabinet your own. It's these personal details that often make DIY projects so rewarding.
Maintaining Your Storage Cabinet
Maintenance is crucial to ensure your DIY cabinet stands the test of time. Regularly check and tighten any loose screws and hinges, and apply touch-up paint or varnish as needed to keep it looking fresh and new. Additionally, make sure to keep the cabinet clean and organized. A well-maintained cabinet not only looks good but also enhances the functionality of your space.
Conclusion
Just like Sarah and Tom, you can transform your living space with a bit of creativity and effort. DIY storage cabinets are not only practical but also imbue your space with a touch of personal flair. Whether you’re a seasoned DIYer or a novice, the project is accessible and rewarding. So why not start planning your custom storage solution today, and simplify your life in a style that’s all your own?


.jpg)


0 Comments